Manage Notice
- Manage notice option is only available for admins. It helps admins to send notification on Parent apps of multiple schools at once.
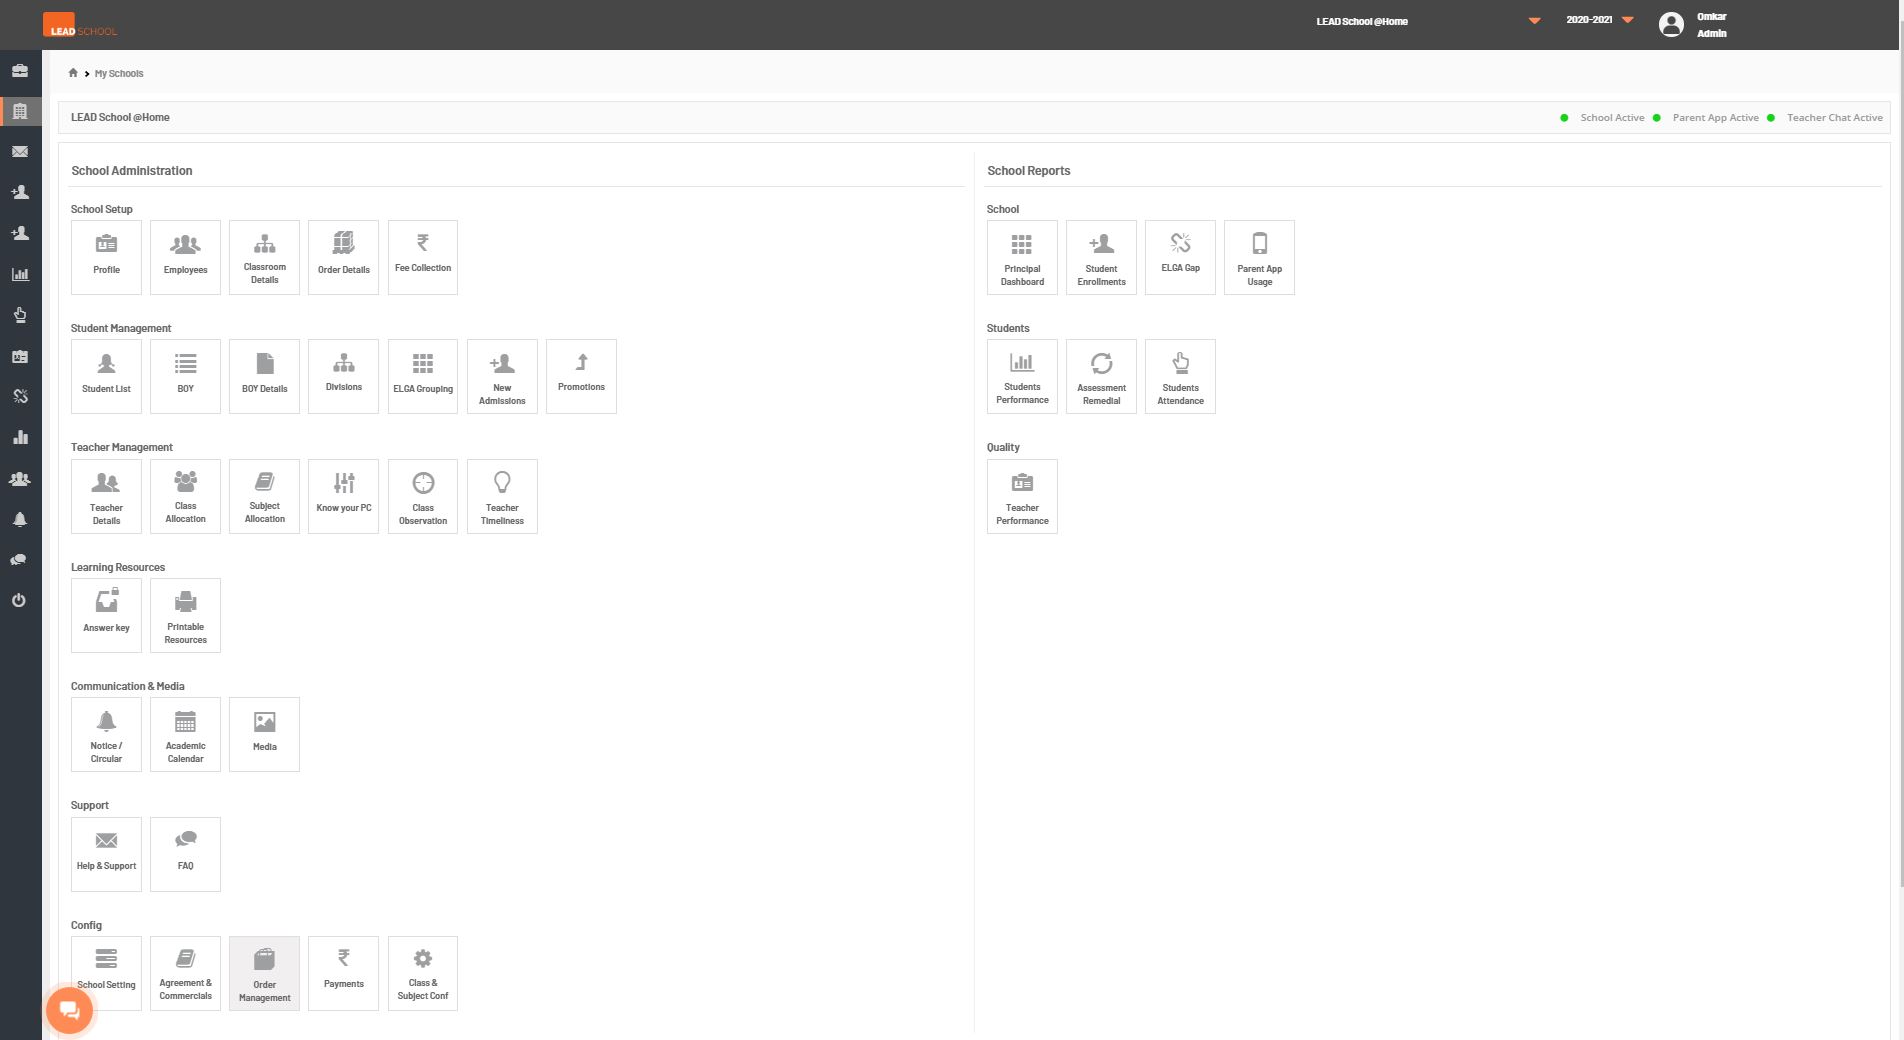
- Click Manage notice option from the left side menu to access it.
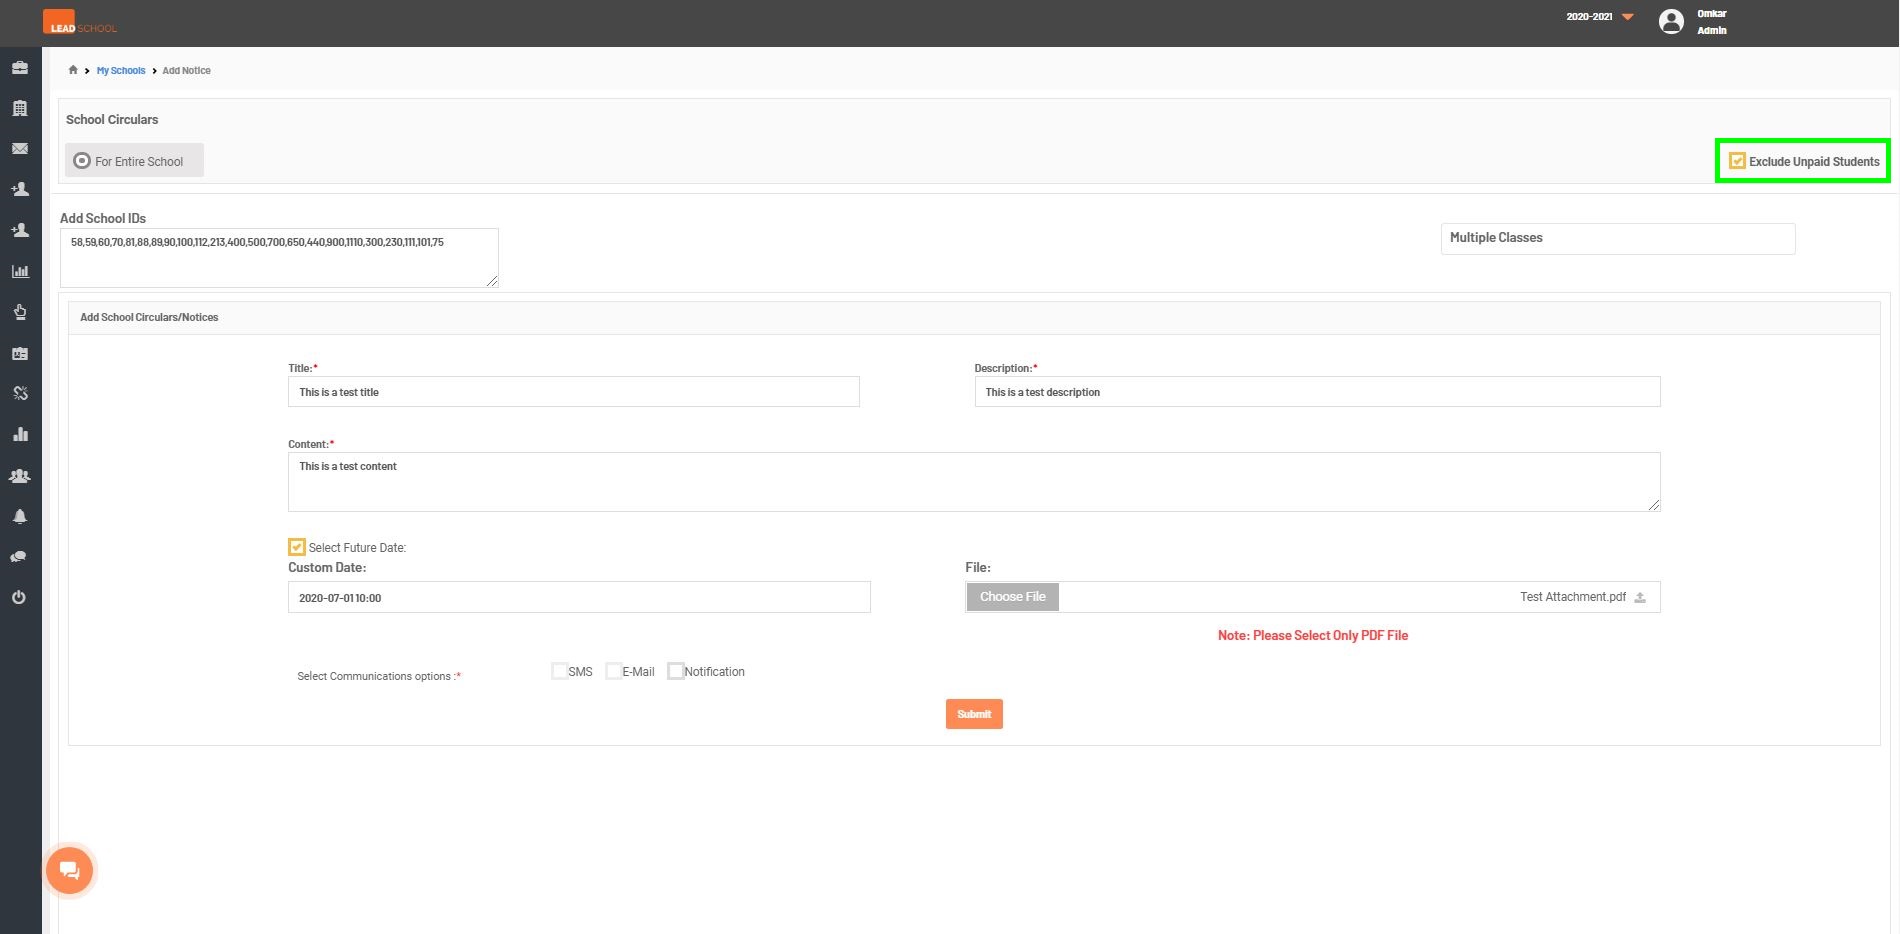
- Enter the nucleus IDs of schools in the Add School IDs field. It is recommended to add no more than 200 schools at once.
- Select Class drop down menu to select which classes should get notifications. You can select multiple classes at once.
- As required, enter title, description and content in respective fields. You can also add a pdf file as attachment by clicking the Choose File option.
- Note: 255 characters is the maximum character limit for each notice.
- To schedule sending notice on a particular date and time, select Future Date option and in Custom Date option select the time and date.
- By default notices are sent to only students whose fee status is set as paid. However to send notices to all active students irrespective of their fees paid status, unselect Exclude Unpaid Student option before sending notice.
- Once all required notice fields have been filed, select the communication option as Notification and click Submit.
- It may take a while to send notices to all mentioned schools. Once a notice is successfully sent to all mentioned schools, you will get the following confirmation.